

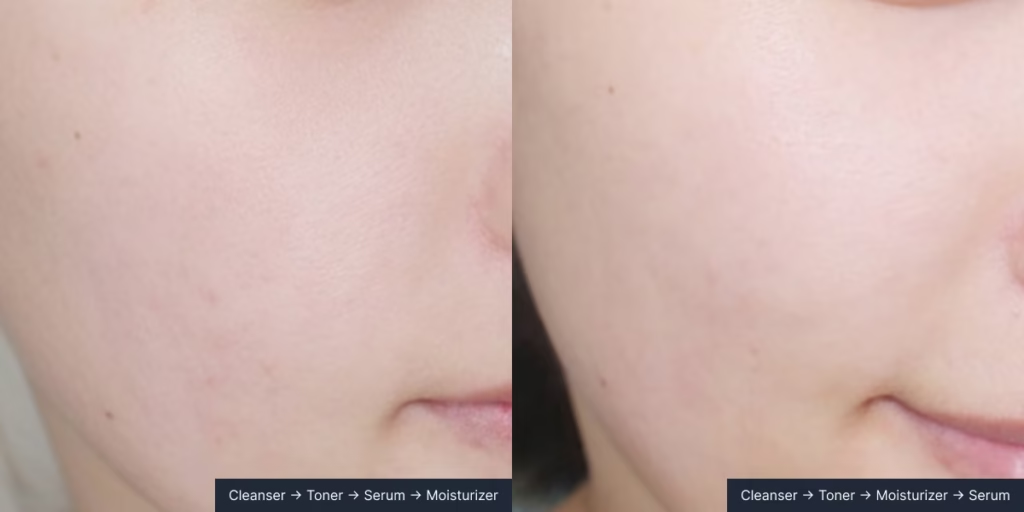
You’ve probably heard the classic skin care routine order: toner, serum, moisturizer, and cream, always applied from the thinnest to the thickest texture. But what if this long-accepted sequence isn’t the only way to achieve healthy, glowing skin?
While the traditional method works for some, real-world results show a more nuanced reality. Many people have found that switching things up, such as applying a lightweight moisturizer before the serum, can transform how their skin looks and feels.
The reason is simple: when the skin is soft and hydrated, active ingredients absorb more effectively, leading to a smoother texture and better overall results.
The Revised Skin Care Routine Order
Over time, dermatologists and skincare enthusiasts have started rethinking the skincare routine order. Instead of treating it as an unbreakable rule, it’s becoming a flexible framework that adapts to your skin type, climate, and product formulation. The new approach focuses on preparing the skin first, then layering treatments strategically for maximum benefit.
The updated sequence still begins with a clean base but pauses to ensure the skin is hydrated and balanced before applying concentrated actives. This small adjustment can make a noticeable difference in how your products perform, helping you achieve a healthier, more even complexion with fewer steps.
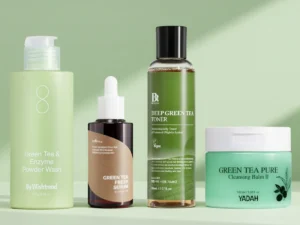
Step 1: Cleanse thoroughly.
Begin with a clean canvas. Use a gentle cleanser that removes dirt, oil, and makeup without stripping your skin. Double cleansing works well for those who wear sunscreen or makeup: start with an oil-based cleanser to dissolve these products, then follow with a water-based cleanser to remove any remaining residue.
- First cleanse: Use an oil-based cleanser (e.g., cleansing oil, cleansing balm, or cleansing milk) to dissolve sunscreen, makeup, and sebum.
- Second cleanse: Use a water-based cleanser (e.g., foam cleanser, cleansing gel, or powder wash) to remove any remaining residue.
If you have sensitized skin, a cleansing milk will be a better option than oils and balms. Acne-prone skin often benefits more from cleansing water instead of oil-based cleansers for the first step; if this isn’t an option, choose non-comedogenic oils. The goal is clean skin, not tight or squeaky skin, which signals over-cleansing.
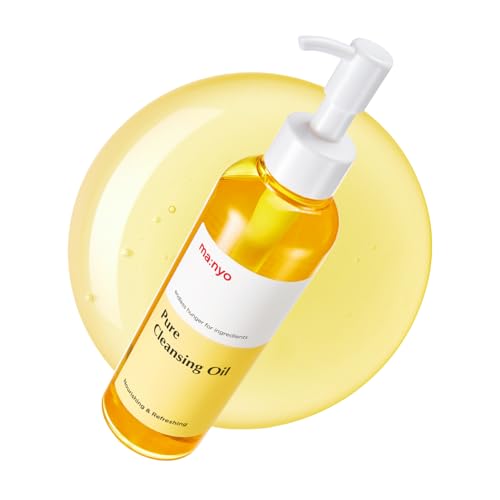
Korea’s top-selling cleansing oil harnesses 14 plant-based oils to dissolve waterproof makeup, sunscreen, and blackheads without compromising skin’s moisture barrier. Non-comedogenic, ophthalmologist-tested, and clinically validated for low irritation.
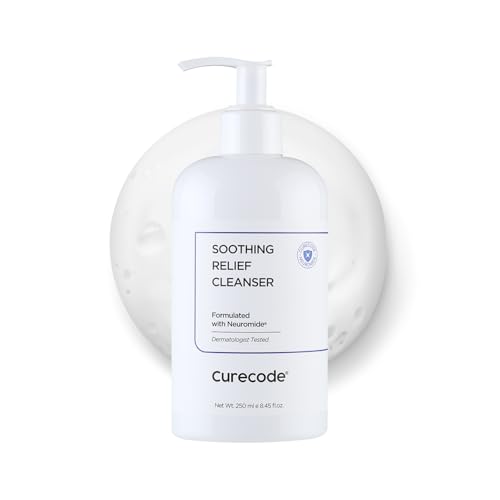
Clinically-validated low-pH cleanser with Neuromide biomimetic lipids, panthenol, and coconut-derived surfactants. Proven to increase hydration, reduce moisture loss, and maintain skin’s natural pH. Dermatologist-tested, non-comedogenic, pediatric-safe for sensitive skin.
Step 2: Apply your pH-balancing toner.
Cleansers can sometimes raise your skin’s pH or leave residue. A well-formulated toner restores your skin’s natural acidic environment (around pH 4.5–5.5) while removing remaining impurities. Modern toners also contain hydrating and soothing ingredients that prime skin for subsequent steps.
Dispense a small amount into your hands and pat gently onto your face. This maximizes absorption while reducing friction. Occasionally, use a cotton pad to gently wipe—this method helps sweep away leftover debris, particularly beneficial for oily or congested skin.
If your skin is very sensitive or easily irritated, you can skip toner altogether or choose a gentle, alcohol-free milky toner that provides light hydration while supporting the skin barrier. For those using a milky toner, you can layer it twice thinly and skip the lotion in Step 3 entirely, particularly if you have oily skin that prefers minimal layering.

This award-winning milky toner combines pH balancing with deep hydration in one step. The ceramide and peptide complex provides the sustained moisture needed to prep skin for serum absorption.

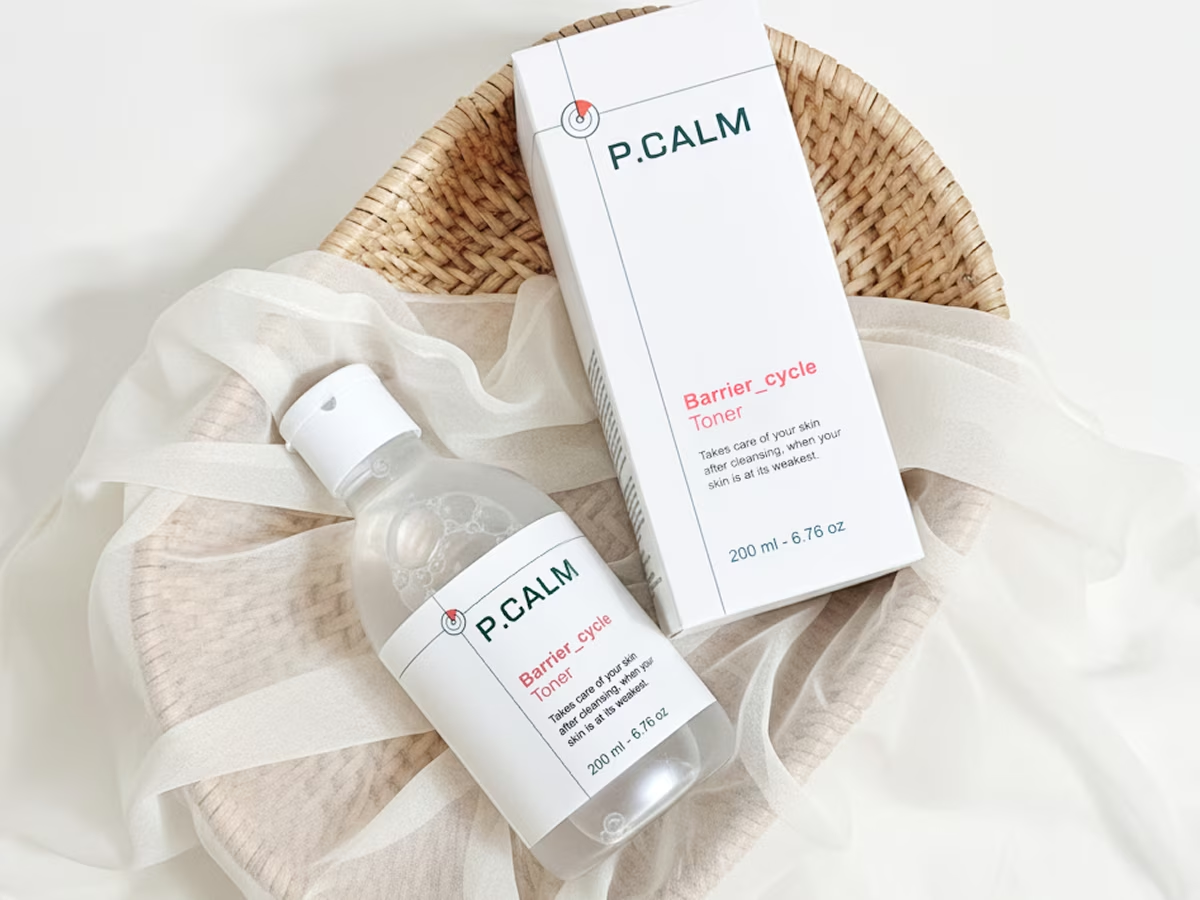
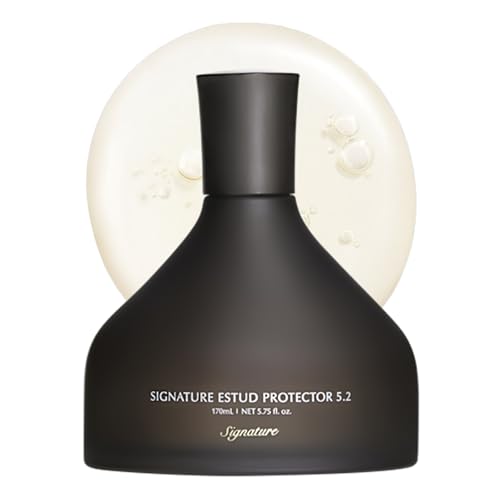
Hydrating ampoule-toner with lactobacillus ferment, allantoin, and hyaluronate. Absorbs fast, strengthens skin barrier without grease, making it ideal for layering before moisturizer and functional skincare.
Step 3: Layer on a lightweight, lotion-type moisturizer
This is where the routine departs from convention. Instead of applying serums immediately after toner, select a lightweight, lotion-like formula that absorbs within 30 seconds without residue. Think soothing gel creams, runny lotions, or hydrating skin boosters.
Your corneocytes (skin cells) need to plump up first. Water-based humectants like glycerin or hyaluronic acid pull moisture into cells, while minimal lipids (ceramides, fatty acids) reinforce the barrier. This creates a flexible, pliable foundation that makes skin receptive to active ingredients.
If you’ve layered a milky toner in Step 2, you might skip this step—one product can do double duty. For most people, however, this dedicated hydration layer prevents what dermatologists call “active skip,” where serums evaporate before penetrating effectively.
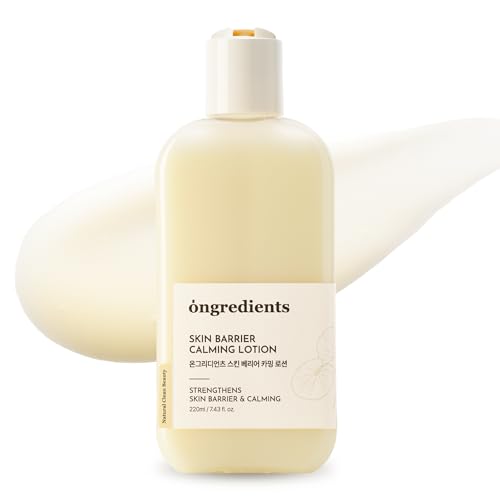
This lightweight, glycerin-based lotion is ideal for the moisturizer-first method. Its fast-absorbing, low-oil formula hydrates and softens skin without heaviness, creating the perfect foundation for serum penetration.

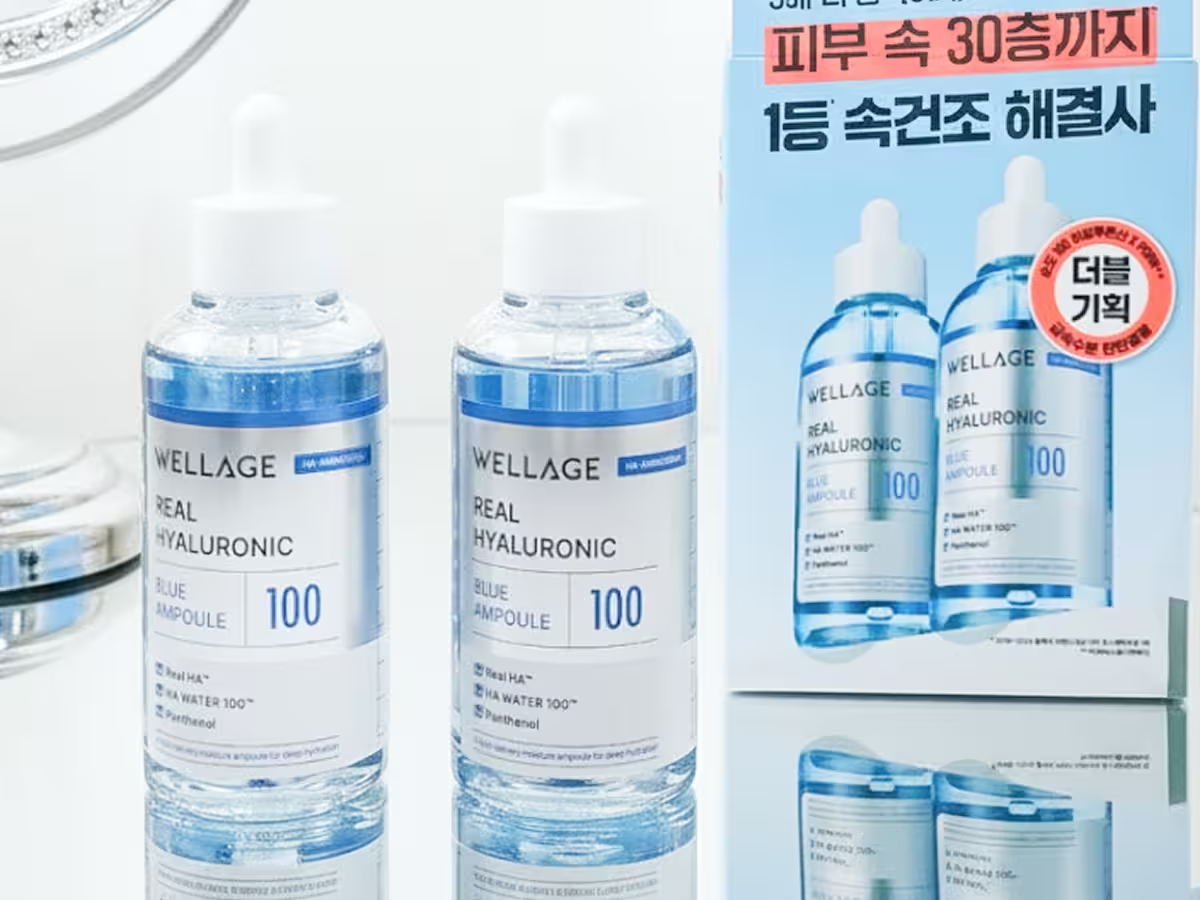
This bouncy gel cream delivers deep hydration with minimal grease. The 5D Hyaluronic Acid complex penetrates multiple skin layers, creating the moisturized foundation needed to prep skin for high-concentration serums and ampoules.
Note on serums and skin boosters
Not every product labeled a serum needs to follow this step.
Some “serums” are actually lightweight skin boosters designed primarily to hydrate rather than deliver concentrated actives. These can be applied before or even in place of your lotion-type moisturizer, depending on their texture and purpose. The key is understanding a product’s function rather than relying solely on its label.
Step 4: Apply your functional serums or ampoules
Now your skin is primed for high-performance treatments. Whether using vitamin C for brightness, niacinamide for pore refinement, retinoids for anti-aging, or other targeted solutions, these actives apply more comfortably and evenly over your hydrated base.
While multiple serums can be used in one routine, rotating stronger concentrates across different days often yields better long-term results. This minimizes irritation, avoids ingredient conflicts, and gives each active room to perform.
For example, use vitamin C in the morning and retinoid at night, or alternate niacinamide and exfoliating acids on different evenings.
If applying multiple serums in one session, sequence them thinnest to thickest—though remember, texture can vary. A “serum” might be watery or thick and sticky. Pause briefly between layers. In skincare, more is rarely better. One or two well-chosen serums on properly hydrated skin often outperform an overengineered routine.
This high-performance niacinamide ampoule delivers concentrated pore-refining and texture-smoothing benefits. Often known as Korea’s Best Pore Ampoule.
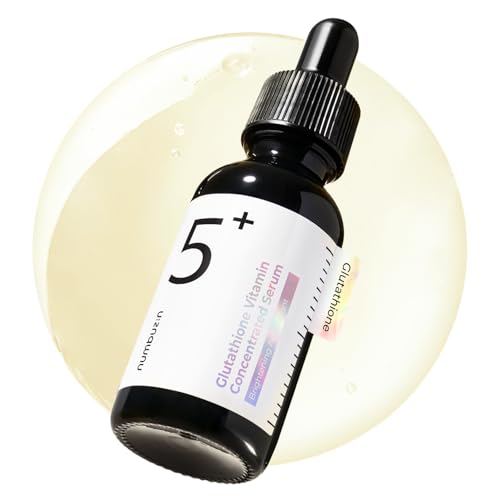
This multi-tasking serum combines Tranexamic Acid, Niacinamide, and Glutathione for comprehensive brightening and clarifying benefits.
Step 5: Seal with a final moisturizer or cream (optional)
Depending on your skin type and season, you might finish with a richer cream. Oily skin can skip this entirely; dry skin benefits from extra protection.
Consider what you’ve already applied. If you’ve used a thick, concentrated ampoule in Step 4, adding a heavy night cream can feel excessive and may clog pores. A smarter approach: mix two to three drops of jojoba oil into your Step 3 moisturizer. This locks in moisture without requiring an additional product.
For extremely dry skin needing extra help in specific areas like cheeks or around the eyes, apply a richer cream to targeted zones only. Avoid heavy, occlusive formulas across your entire face as they can trap oil and debris, leading to congestion.
Step 6: Sunscreen (morning only)
Always finish your morning routine with broad-spectrum sunscreen. This non-negotiable step protects your skin from UV damage and preserves the work your other products are doing. Apply generously and reapply throughout the day as needed.
Why This Routine Works
Picture your skin’s outer layer as a brick wall. The individual skin cells are bricks; natural oils and fats between them act as mortar. When this wall becomes dehydrated, the surface turns rough and develops microscopic cracks, making it less effective at retaining moisture and more prone to irritation.
When you introduce moisture, those cells absorb water and swell slightly, like a dry sponge expanding. As they become hydrated, the lipids between cells become more flexible, allowing skincare ingredients to spread more evenly and penetrate more effectively.
Think of very dry soil initially repelling water versus slightly damp soil absorbing it readily. Skin behaves similarly: when outer layers are comfortably hydrated, the organized lipid layers are less rigid, allowing serums to work more effectively in the upper living layers.
Where Do Facial Masks Fit Into This Routine?
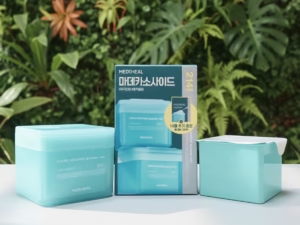
The placement of facial masks depends on the type you’re using. Most treatment masks belong in your evening routine, as they require time to work and shouldn’t interfere with sunscreen application.
For sheet masks, the answer is simple: they replace both Step 3 and Step 4.
On sheet mask days, your routine becomes:
- Cleanse
- Toner
- Sheet mask ← replaces lightweight moisturizer + serums
- Sunscreen (morning only)
Your pH-balancing toner stays—it restores balance and creates the optimal foundation for mask absorption. The lightweight moisturizer and serums get skipped because sheet masks are pre-soaked with essence containing both hydrating ingredients and targeted actives. They’re already doing double duty.
The finishing cream remains worthwhile. Sheet mask essences are water-based and can evaporate without a protective barrier. A light cream seals in the treatment, especially for dry skin or harsh weather. However, this step is a big no-no for those with oily skin.
Considering using sheet masks daily? The routine remains unchanged. Simply continue replacing Steps 3 and 4 with your sheet mask each day, choosing formulas designed for daily use rather than intensive weekly treatments.
Choosing the Right Products
For your Step 3 moisturizer: Select something that feels almost weightless, more like a hydrating essence than a traditional cream. Look for formulas containing humectants (glycerin, hyaluronic acid) that attract and hold moisture, keeping cells plump and pathways open.
For serums and ampoules: Choose formulas with active ingredients at meaningful concentrations. These highly concentrated products are most effective when they can reach the skin layers where cellular activity occurs—something the moisturizer-first method helps facilitate. Your serum or ampoule should be equal to or thicker in consistency than the moisturizer used in step three.
For final creams: Save heavy, occlusive formulas for this optional last step if your skin needs barrier protection. These richer creams seal everything in, preventing moisture loss.
Why the Traditional Approach Falls Short
Consider what happens with the conventional sequence when serums are applied after toner alone. Toners provide light hydration, but they evaporate quickly. They don’t create the sustained moisture needed to make skin truly pliable.
Your concentrated ingredients encounter a dense, compressed barrier. Most remain on the surface, unable to penetrate effectively.
It’s like trying to paint a fence without priming it first. The paint might stick to the surface, but it won’t bond properly or last. A primed surface accepts paint readily, allowing it to adhere and perform as intended.
By applying a lightweight moisturizer before serums, you’re creating that receptive foundation that transforms how your products perform.